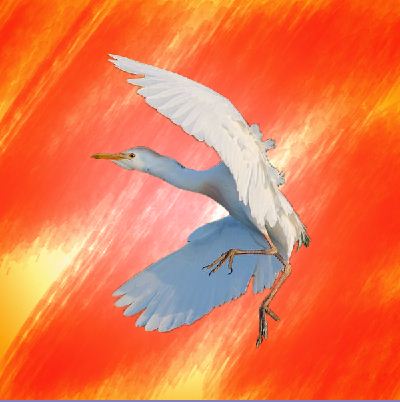
PREVIEW
Step 1
Create a new document 600×600 pixels and fill the background with a black color, then a radial gradient (white to orange). Rename this layer as “Background”.
Step 2
Make a selection out of the cattle egret below, copy and paste it into the newly-created layer, resize and reposition it using the Free Transform tool (Edit>Free Transform). Rename this layer as “Egret”.
Step 3
Download macbadshoes’ watercolor brushes. Select one of the brushes of the set and paint a red (or any color of your choice) into the duplicated background layer (Background copy), then set blend mode to Overlay, Opacity and Fill to 100.
Step 4
Create a new layer group and name it “Watercolor”. Switch back to Background copy layer.Use any shaped brush to paint a large watercolor orange or light red to this layer, then paint it and change its Blend Mode to Linear Light, Opacity and Fill to 80.
Step 5
Under the group layer “Watercolor”, create a new layer (by default, this is Layer 1). Select a big dry brush or the one we’ve just used. Try different shapes and opacity. Paint randomly over the bird with different colors. When done, click Watercolor layer then set blend mode to Linear Light, Opacity 80.
This is how it looks now:
Step 6
Merge Watercolor group layer (with the Watercolor group layer highlighted, right-click, then select Merge Group…). After this, go to Filters > Filter Gallery > Artistic > Dry Brush, set the values shown below and see how it looks.
Step 7
For some finishing touches, grab a big soft brush and paint the edges of the image to make a reddish orange vignette.
Step 8
Add your desired text, I’m using Parchment and Eras Light ITC here.
Step 9
Finally, merge all visible layers, then apply Hue/Saturation using the Create New Fill. Set Blend Mode to Overlay.
Here’s the expected final result:


